What you need:
-a small leather pouch
-flat backed crystals in 3 colors
-3 feet of gold chain
-glue
-toothpics
-chalk
-transparent grid ruler
-jewellry pliers
-fabric and leather punch
What you need to do:
1.Draw a line across the center
Draw a chalk line across the center of the bag,about halfway down.
2.Draw additional horizontal lines
Draw another horizontal line 1/2-inch above the first line.Draw another line 1/4-inch above that line,and a last line 1/2-inch above that line.
3.Draw vertical lines
Draw horizontal lines,starting with a line at the center of the bag.Moving out from the center,draw a second line 1/4-inch away,a third line 1/2-inch away from that,a fourth 1/4-inch away and a fifth line 1/2-inch away.Repeat on the other side.
4.Glue the crystals
Apply a dot of glue with a toothpick at the point where the bottom horizontal line meets the vertical line that is one over from the center.
5.Continue the crystal pattern
Repeat,following the lines up and to the side,then again on the other side.
6.Repeat with the second crystal color
Follow the same gluing technique with the blue crystals,beginning at the corner point above and next to the orange crystals.
7.Glue the last crystal color
Glue the last silver crustals.
8.Punch holes on the sides of the bag
Use the leather punch to punch a hole on each side of the bag,just below the zipper and close to the edge.
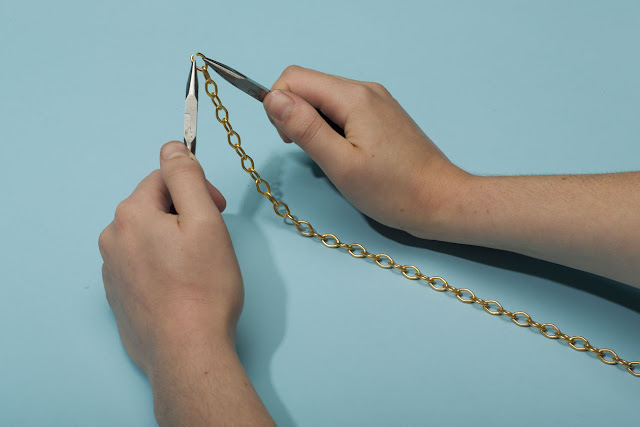
9.Open a link at the end of the chain
Use the pliers to open the link at the end of the chain
10.Attach the chain to the bag
Loop the opened link through one of the holes in the pounch,and close it with the pliers.
So,the bag is finished.Hope you like it!!
With love,
Anneliese.
Source:teenvogue.com


No comments:
Post a Comment